
Room Mockups for Beginners: Create One from a Photo in Minutes
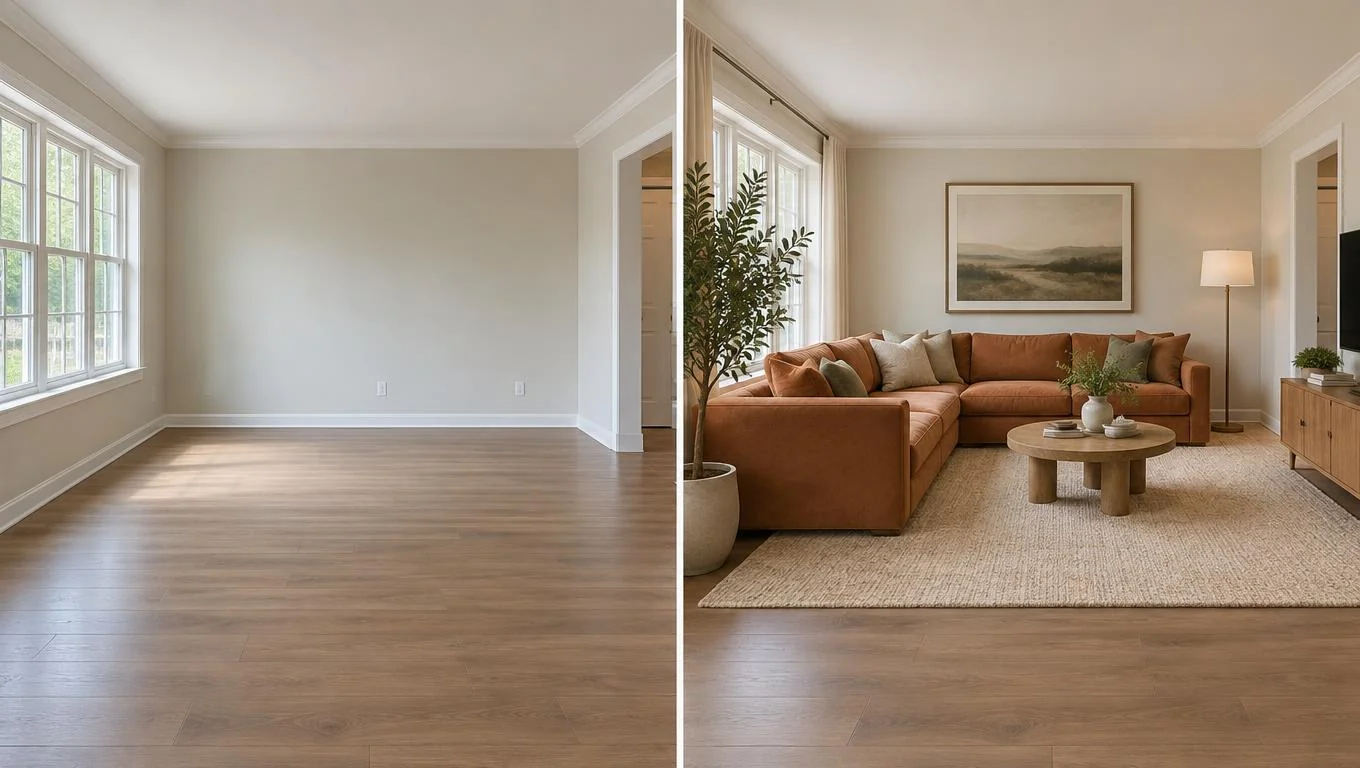
A room mockup is a quick visual preview of how furniture and decor will look in a real space, and the fastest way to make one is from a single photo of your empty room. You upload the photo, pick a style, and a room mockup generator fills the space with a sofa, bed, rug, or whatever that room needs, usually in under a minute. No design software, no measuring tape, no 3D modeling.
If you just moved in, signed your first lease, or you are staring at a bare room before a furniture order, this is the easiest way to see the result before you spend a dollar. In this guide you will learn exactly what a room mockup is, when a quick mockup beats a full 3D plan, how to create one step by step, and how to share it with a partner or roommate so everyone agrees before anything gets delivered.
This is a beginner guide, so we will keep it practical: real steps, honest tradeoffs, a simple checklist, and the common mistakes that make mockups look fake. Let's furnish that empty room.
Key Takeaways
- A room mockup is a furnished preview of a real room, created from a photo rather than built from scratch in design software.
- A photo-to-mockup workflow takes minutes and needs zero technical skill, which is perfect for beginners and quick decisions.
- Use a quick mockup when you want to test a look or layout fast; use a full 3D plan when you need precise measurements and construction detail.
- One clear daylight photo of the empty room is the single biggest factor in getting a realistic result.
- Mockups are easy to share, so you and a partner or roommate can agree on a direction before anything is bought.
What Is a Room Mockup?
A room mockup is a visual draft of a furnished room. Think of it like a mockup in any other field, a preview that shows the final look without the final commitment. Instead of imagining whether a gray sectional fits your living room, you see it placed in your actual space, lit by your actual windows.
There are two broad kinds. A built-from-scratch mockup is created in 3D software, where you model the room's dimensions and drag in furniture objects. It is accurate but slow and has a learning curve. A photo-based mockup is created by uploading a photo of your empty room to a room mockup generator, which adds realistic furniture and decor directly onto that image. The second approach is what most beginners want: fast, visual, and tied to the room you actually have.
It helps to be clear about scope. A photo-based room mockup adds movable furniture and soft furnishings: sofas, beds, rugs, tables, lamps, art, plants. It is designed for empty or near-empty rooms, which makes it a natural fit for a new home, a fresh start, or planning before the furniture arrives. It is not a renovation tool. It shows how a space fills up, not how it gets rebuilt.
So when someone searches "create room mockup," they usually mean exactly this: take a bare room, make it look furnished, and decide if they like it. That is the workflow we will focus on.
Why Room Mockups Matter
Furniture is expensive and hard to return. Buying a sofa you cannot picture in your room is a gamble, and the odds are not great. A mockup turns that guess into a decision you can actually see.
Here is why beginners lean on them:
- You avoid costly mistakes. Seeing a bed, dresser, and nightstands in place before ordering stops the classic errors: a sectional that swallows the room, a rug that is two sizes too small, a color that clashes with the floor.
- You skip the imagination gap. Most people struggle to picture an empty room furnished. A mockup does that work for you, so you react to something real instead of guessing.
- You make faster group decisions. Couples and roommates argue less when they are looking at the same picture. A mockup gives everyone a shared reference point.
- You plan your budget with intent. When you can see the finished look, it is easier to decide which pieces matter and where to save.
None of this requires design talent. The value of a room mockup is that it moves you from "I think this might work" to "yes, that works," before the delivery truck shows up.
How to Get Started: Photo to Mockup in Minutes
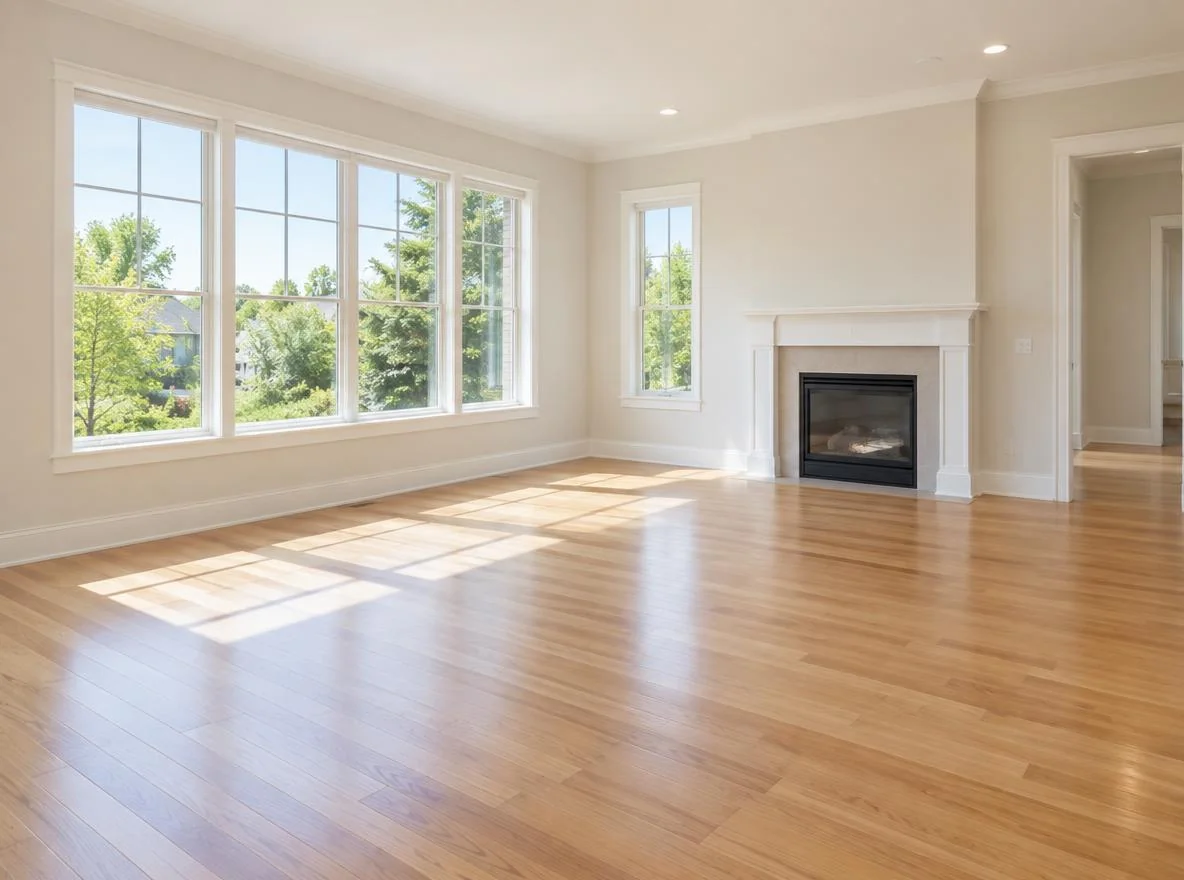
The whole point of a photo-based room mockup is speed. Here is the beginner workflow, step by step.
Step 1: Take one good photo of the empty room
Stand in a doorway or corner so you capture as much of the room as possible. Shoot during the day with the lights on and curtains open, since natural light makes the mockup look believable. Hold the phone at chest height, keep it level, and get the floor and at least two walls in frame. One clean, well-lit photo beats five rushed ones.
Step 2: Upload it to a room mockup generator
Drop the photo into the tool. There is no modeling or measuring here, because the generator reads the room from the image. This is the step that separates a quick mockup from traditional design software, and it is why beginners can get a result on their first try. If you want the mechanics behind this, our explainer on how a room visualizer works breaks down what happens after you hit upload.
Step 3: Pick a style and room type
Tell the tool what the room is (living room, bedroom, home office) and the look you want (modern, Scandinavian, warm minimalist, cozy traditional). This guides which furniture and palette get placed. Not sure what you like? Generate two or three styles and compare. That is often the fastest way to discover your taste.
Step 4: Generate and review
In roughly 30 seconds you get a furnished version of your room. Look at scale first: does the sofa or bed feel right for the space? Then check the vibe. If something is off, regenerate or switch styles. You can create a free online room mockup with the interior design generator and run several versions until one clicks.
Step 5: Save and share
Download the versions you like. Send them to your partner, roommate, or whoever is splitting the furniture bill. A shared image settles debates faster than a paragraph of description ever will.
That is the entire loop: photo in, furnished room out, decision made. For deeper layout questions after your mockup, the living room furniture layout guide covers spacing and placement rules worth knowing.
See Your Empty Room Fully Furnished in 30 Seconds
Upload one photo of your empty room and get a realistic furnished preview in the style you choose — before you buy a single piece of furniture.
Free to try • No design skills needed • Works with any room photo
Furnish My Room →Best Practices for Realistic Mockups
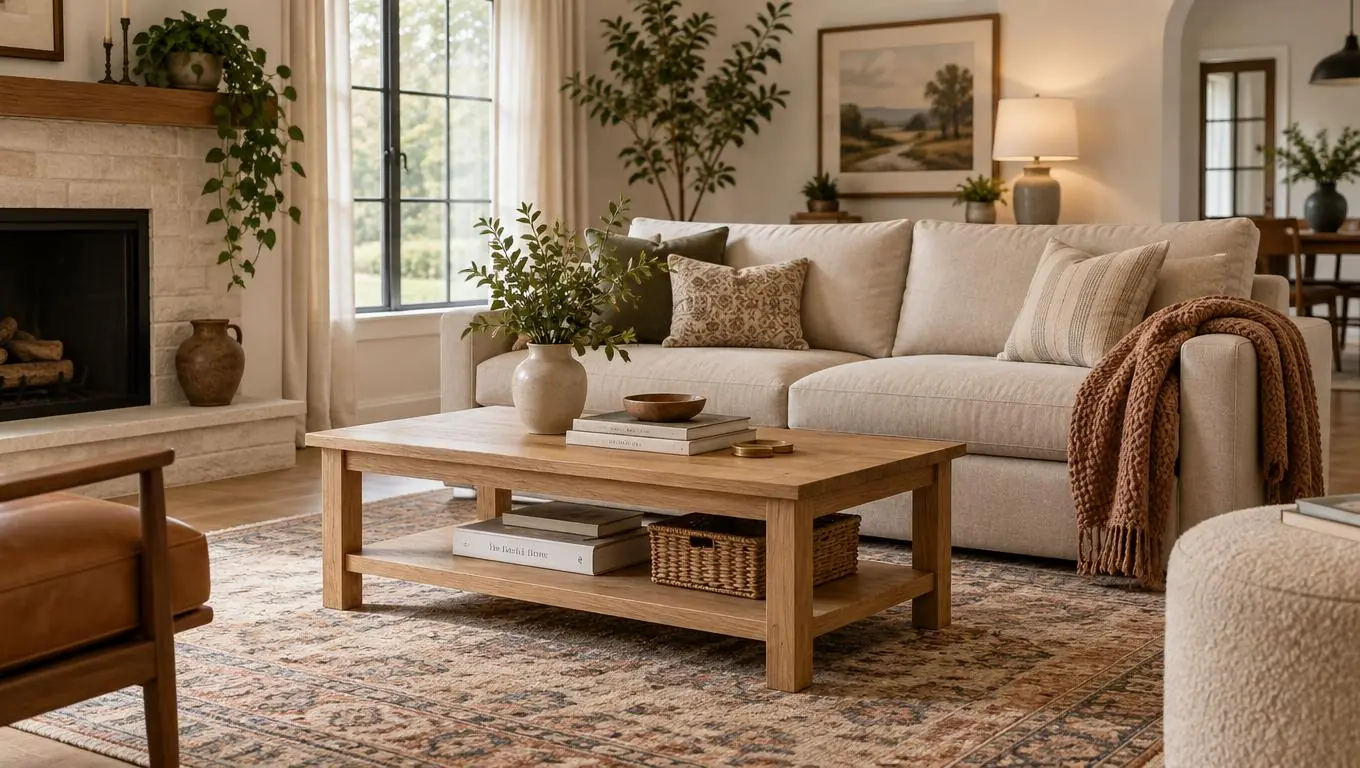
A room mockup is only useful if it looks believable. These habits make the difference between a preview you trust and one you second-guess.
When to use a quick mockup vs a full 3D plan
Both have a place. Use the table below to pick the right tool for your situation.
| Situation | Quick photo mockup | Full 3D plan |
|---|---|---|
| Testing a look or style fast | ✅ Best choice | Overkill |
| Deciding before a furniture purchase | ✅ Best choice | Slower than needed |
| Getting a partner or roommate to agree | ✅ Shareable image | Harder to read |
| Exact measurements for built-ins | Not the goal | ✅ Better fit |
| Zero software experience | ✅ No learning curve | Steep learning curve |
For most beginners planning furniture, the quick mockup wins on speed and clarity. Reserve 3D planning for projects that genuinely need precise dimensions.
Photo and style tips
- Shoot in daylight. Even, natural light reads as realistic; harsh shadows and yellow bulbs do not.
- Keep the room empty or tidy. Photo-based mockups work best on empty rooms, so clear clutter before you shoot.
- Match the style to the room's bones. If you have warm wood floors, a cool industrial style may fight them. Pick a direction that works with what you cannot change.
- Generate multiple versions. Comparing two or three options is how you find the one that feels right, and it costs you only a minute.
- Check scale against reality. Mentally measure the sofa against your wall. If it looks too big in the mockup, it will be too big in the room.
If you are furnishing from zero, pair your mockups with the first apartment furniture checklist so you preview the pieces you actually need, in the order you need them.
Common Mistakes to Avoid
Beginners trip on the same few things. Avoid these and your mockups will look far more convincing.
- Using a dark or blurry photo. The mockup can only be as good as the input. A dim, tilted phone shot produces a flat, unrealistic result. Reshoot in daylight.
- Cropping out the floor. If the generator cannot see the floor, it cannot place furniture naturally. Capture the ground plane and the corners.
- Expecting it to redesign a full room. Photo mockups add movable furniture and decor. They do not repaint walls, swap flooring, or remodel, so judge them on furnishing, not renovation.
- Settling on the first result. The first generation is rarely the best. Try a few styles before you commit to a direction.
- Ignoring scale. A mockup that looks great but hides a too-large sofa still leads to a bad purchase. Always sanity-check size against your real measurements.
- Deciding alone when others share the space. If a roommate or partner will live with it, loop them in early with a shared image.
See Your Empty Room Fully Furnished in 30 Seconds
Upload one photo of your empty room and get a realistic furnished preview in the style you choose — before you buy a single piece of furniture.
Free to try • No design skills needed • Works with any room photo
Furnish My Room →Final Thoughts
A room mockup takes the guesswork out of furnishing. Instead of hoping a sofa or bed will fit, you see it in your actual room, in minutes, from a single photo, with no software to learn. That is why a quick photo-to-mockup workflow beats a full 3D plan for most beginners: it is fast, visual, and easy to share with the people you live with.
Keep it simple. Take one clear daylight photo of your empty room, upload it to a room mockup generator, try a couple of styles, and compare the results. When you find a version everyone agrees on, you will buy with confidence instead of crossing your fingers.
Ready to create a room mockup of your own space? Snap that photo and try a furnished preview. The button below takes it from there.
Frequently Asked Questions
What is a room mockup?
A room mockup is a visual preview of a furnished room. A photo-based mockup is made by uploading a picture of your empty room to a generator, which adds realistic furniture and decor so you can see the look before you buy anything.
How do I create a room mockup from a photo?
Take one clear, well-lit photo of your empty room showing the floor and two walls, upload it to a room mockup generator, choose the room type and style, and generate. You get a furnished version in about 30 seconds and can try several styles.
Do I need design software or skills to make a room mockup?
No. A photo-based room mockup generator does the work for you. There is no modeling, measuring, or software to learn. That is what makes it a good fit for beginners who just want a quick, realistic preview.
When should I use a quick mockup instead of a full 3D plan?
Use a quick mockup when you want to test a style, decide before a furniture purchase, or get a partner to agree, all situations that reward speed. Choose a full 3D plan only when you need exact measurements for built-ins or construction.
Can a room mockup change walls, flooring, or cabinets?
No. Photo-based mockups add movable furniture and soft furnishings like sofas, rugs, and lamps. They do not repaint walls, replace flooring, or remodel, so they work best on empty or near-empty rooms you are planning to furnish.


