
How to Stage an Empty Bedroom: Virtual Staging and Real Furniture Options
Introduction
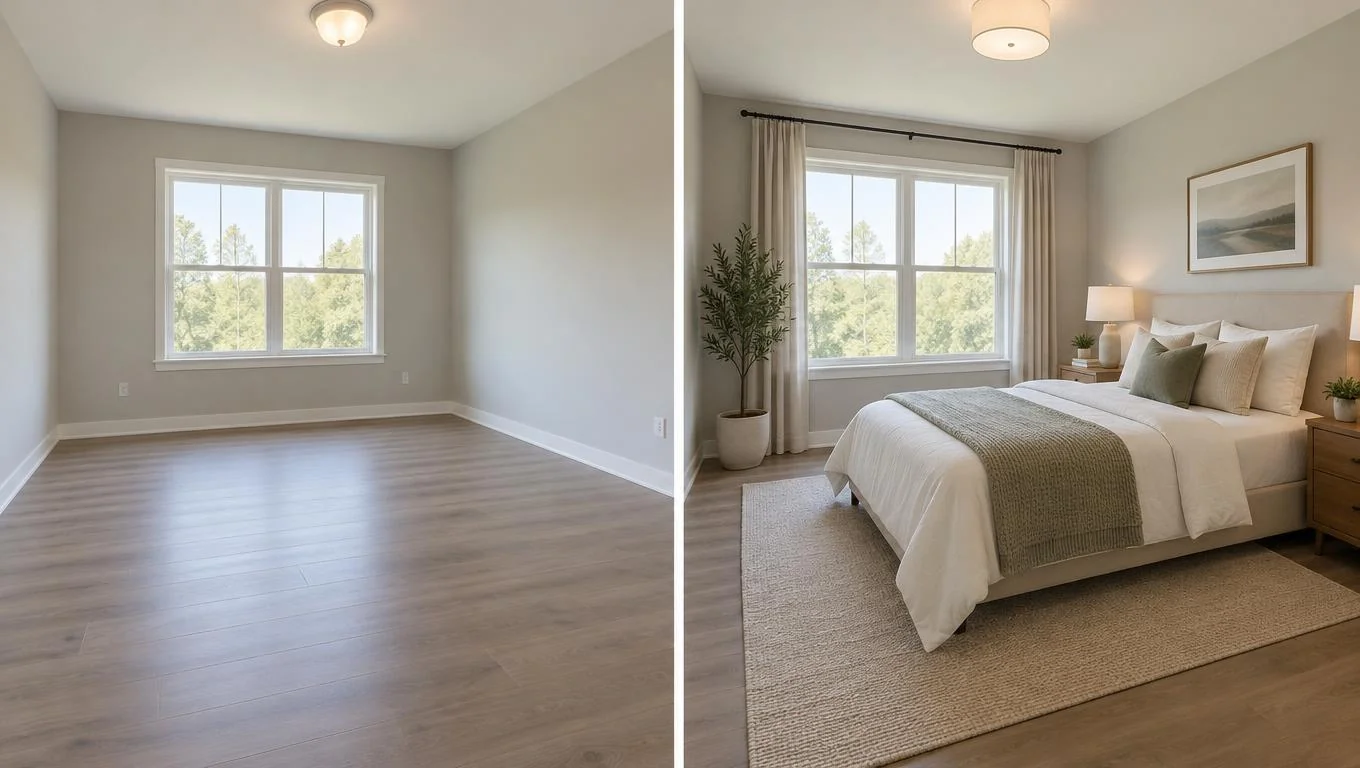
To stage an empty bedroom, you have two practical routes: a virtual staging bedroom preview that drops realistic furniture onto a photo of your bare room in seconds, or buying and arranging real furniture. The smartest plan is to do the virtual preview first, lock in your layout, then buy only the pieces you have already seen in place. That order saves money and prevents the two most expensive bedroom mistakes: a bed in the wrong spot and furniture that is the wrong size.
This guide walks you through both paths step by step, whether you are staging your own bedroom, setting up a guest room, or getting a short-term rental photo-ready. You will learn what you need, how to place the bed, how to get the scale right, and what virtual staging can and cannot do. Virtual staging adds movable furniture and decor to an empty room. It will not repaint walls or replace flooring, so we will work with the room you already have.
What You'll Need
Staging an empty bedroom does not require design software or a big budget. Here is the short prerequisite list before you start:
- One clear daylight photo of the empty room, shot from a doorway or corner so you capture two walls and the floor. Open the curtains and turn off harsh overhead lights, since natural light reads best.
- Rough room measurements: width, length, and the position of windows, closets, and the door swing.
- Your bed size (twin, full, queen, or king) or the size you plan to buy.
- A rough budget if you are buying real furniture, so you know which pieces are must-haves versus nice-to-haves.
That is it. The photo matters most. A good one lets you preview full layouts before you lift a single box or click "buy."
Step-by-Step Guide
Follow these five steps in order. Each one builds on the last, so you end with a bedroom plan you can actually execute.
Step 1: Photograph the empty room properly
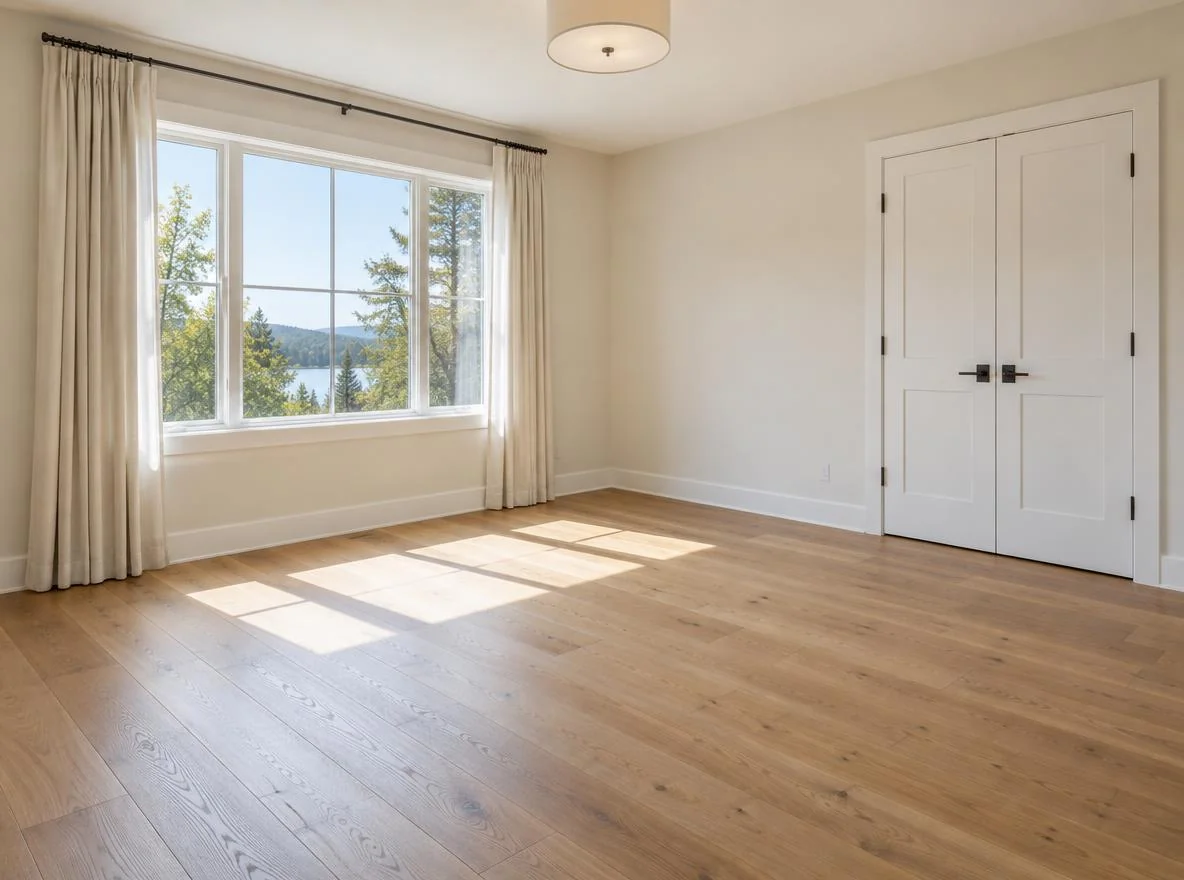
Stand in the doorway or a corner and shoot straight, holding your phone at chest height. The goal is a wide, honest view of the empty space: floor, two walls, and the window. This matters because every preview you generate (and every furniture measurement you make) depends on this single reference image. A crooked or dark photo makes the finished room look off, no matter how good your furniture choices are.
Step 2: Decide where the bed goes first
The bed is the anchor of any bedroom, so place it before anything else. The rule of thumb: put the headboard against the longest unbroken wall, ideally the one you see first when you walk in, and avoid blocking windows or the closet door. Leave at least 24 inches of walking space on each side you need to access. Getting bed placement right is the single biggest factor in whether the room feels calm or cramped. Our bedroom furniture layout guide breaks down bed placement rules for odd-shaped rooms.
Step 3: Generate a virtual staging preview
Upload your empty-room photo to a tool that adds furniture to the image, pick a style, and let it furnish the space. In about 30 seconds you get a photorealistic bedroom with a bed, nightstands, lamps, and soft decor placed in your actual room. This is where you test ideas risk-free: swap a queen for a king, try the bed on a different wall, or compare a minimalist look against a cozier one. Because the AI works on your real photo, you see true proportions instead of guessing from a catalog. If you want a bedroom-specific starting point, our AI bedroom design tool previews furnished layouts built around bed placement and scale.
Remember the boundary: virtual staging adds movable furniture and styling. It will not change your wall color, flooring, or built-in closets, so choose furniture that works with the finishes you already have.
See Your Empty Room Fully Furnished in 30 Seconds
Upload one photo of your empty room and get a realistic furnished preview in the style you choose — before you buy a single piece of furniture.
Free to try • No design skills needed • Works with any room photo
Furnish My Room →Step 4: Check scale against real dimensions
A preview can look great and still not fit. Before buying, match the furniture in your favorite layout to your measurements. Use the table below as a quick reality check for a standard bedroom.
| Item | Typical footprint | Clearance needed |
|---|---|---|
| Queen bed | 60 x 80 in | 24 in on each used side |
| King bed | 76 x 80 in | 24 in on each used side |
| Nightstand | 18–24 in wide | Fits beside headboard |
| Dresser | 52–60 in wide | 30 in to open drawers |
| Walkway | — | 30–36 in main path |
If a dresser leaves less than 30 inches to open its drawers, size down. This step is why preview-first beats buy-first: you catch the fit problem on screen, not on delivery day.
Step 5: Build your shopping or styling list
Now translate the layout you chose into a short, ordered list. Start with the bed and mattress, then the two highest-impact pieces, usually nightstands with lamps and one storage piece like a dresser. Add soft layers last: rug, curtains, and a throw. If you are staging a guest room or short-term rental, prioritize pieces that photograph well and give guests a flat surface, a light, and a place for a suitcase. Buying in this order keeps the room usable at every stage instead of half-finished for weeks.
Pro Tips for Best Results
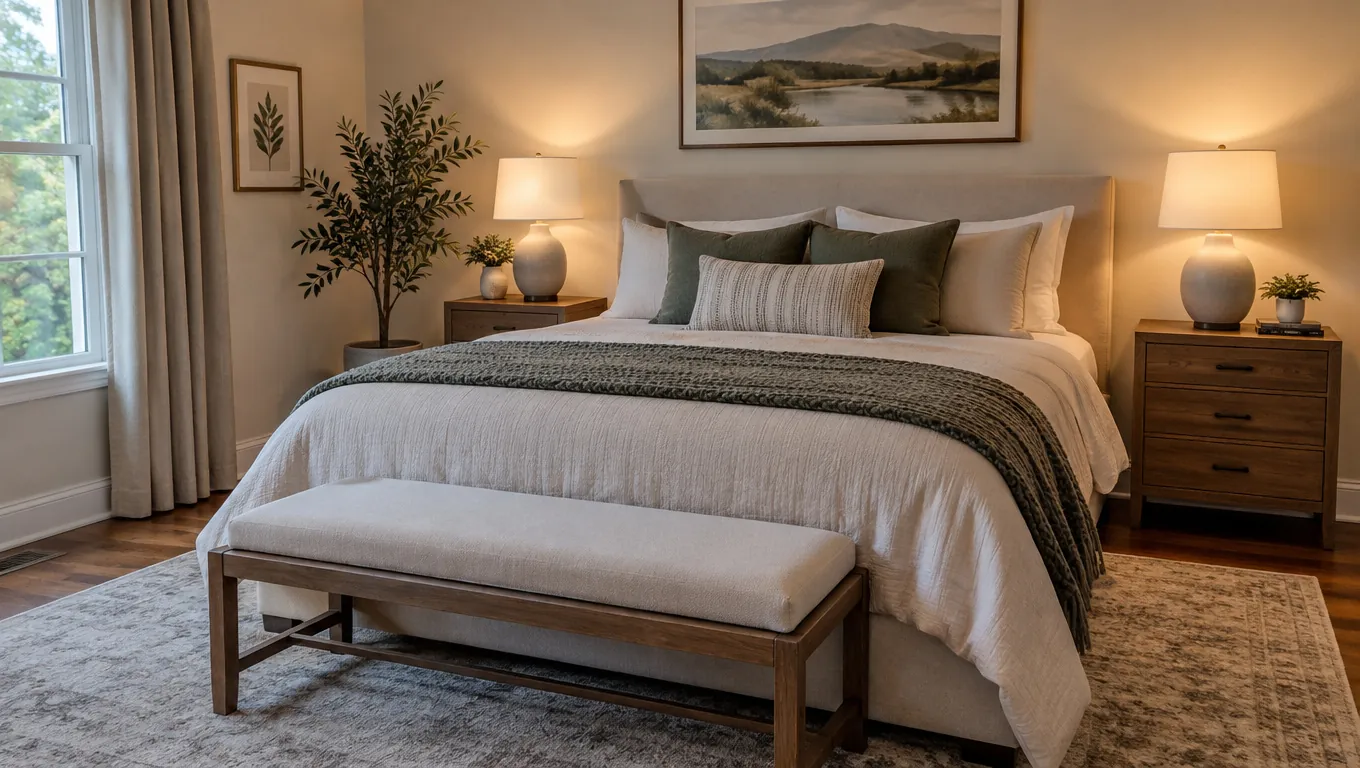
Small adjustments make a staged bedroom look intentional rather than assembled from whatever was on sale.
- Preview two or three styles before committing. The same empty bedroom can feel modern, warm, or airy depending on the bed frame and textiles. Comparing versions side by side is free when you do it virtually.
- Anchor the bed with symmetry. Matching nightstands and lamps instantly read as "finished." If space allows only one nightstand, balance the other side with a small chair or plant.
- Scale the rug correctly. A rug should slide under the bottom two-thirds of the bed and extend 18–24 inches beyond the sides. Undersized rugs are the most common reason a bedroom looks unbalanced.
- Keep the palette calm. Bedrooms read best with two or three colors. Let the bedding be the hero and keep walls and large pieces neutral.
- Light in layers. Even a staged photo benefits from a bedside lamp glow plus daylight. For guest rooms and rentals, visible lamps signal comfort.
If you are new to furnishing from a photo, the plain-English overview in what virtual staging is explains how the preview turns an empty room into a styled one.
Common Mistakes to Avoid
Most empty-bedroom projects go sideways for a handful of predictable reasons. Watch for these:
- Buying the bed before testing placement. A king looks luxurious until it blocks the closet. Place it in a preview first.
- Ignoring clearances. If you cannot walk comfortably or open a drawer, the room will feel cramped in person even when it photographs fine.
- Over-furnishing a small room. A bed, two nightstands, one dresser, and soft layers are usually enough. More pieces shrink the space.
- Pushing everything against the walls. A little breathing room around the bed often looks better than furniture jammed into corners.
- Expecting staging to fix finishes. Virtual staging adds furniture and decor. It does not repaint or re-floor. Plan your pieces around the room as it is.
Final Thoughts
Staging an empty bedroom comes down to one smart sequence: place the bed, preview the layout, check the scale, then buy. A virtual staging bedroom preview lets you test every empty bedroom idea on your actual room before you spend, so you skip the returns, the guesswork, and the half-furnished weeks. Whether it is your own room, a guest room, or a short-term rental, the goal is the same: a bedroom that looks livable and well-proportioned from the first photo.
Take one clear daylight photo of your bare bedroom, try a furnished preview in a style you like, and use what you see to build a confident shopping list. The CTA below will get you started in about 30 seconds.
See Your Empty Room Fully Furnished in 30 Seconds
Upload one photo of your empty bedroom and get a realistic furnished preview in the style you choose — before you buy a single piece of furniture.
Free to try • No design skills needed • Works with any room photo
Furnish My Room →Frequently Asked Questions
What is the fastest way to stage an empty bedroom?
Upload one clear daylight photo of the empty room to a virtual staging tool, pick a style, and get a furnished preview in about 30 seconds. It lets you test bed placement and furniture scale before buying anything, which is far faster than arranging real pieces by trial and error.
Does virtual staging a bedroom change the walls or floor?
No. Virtual staging adds movable furniture and decor such as beds, nightstands, lamps, rugs, and curtains to a photo of your empty room. It does not repaint walls, change flooring, or alter closets, so choose pieces that work with the finishes you already have.
Where should the bed go in an empty bedroom?
Place the headboard against the longest unbroken wall, ideally the first wall you see when entering, without blocking windows or the closet door. Leave at least 24 inches of walking space on each side you use. The bed is the anchor, so set it before any other furniture.
Can I use virtual staging for a guest room or short-term rental?
Yes. Previewing the layout first helps you buy only photo-friendly, functional pieces: a comfortable bed, bedside lighting, a flat surface, and room for a suitcase. It is a low-risk way to make a bare room look lived-in before guests arrive or photos go up.
Should I buy furniture before or after previewing the layout?
Preview first. Testing the arrangement on a photo of your real room catches size and clearance problems on screen instead of on delivery day. Once you confirm a layout you like, build your shopping list from the exact pieces you saw in place.


