
Studio Apartment Furniture Layout: Zoning One Room That Does Everything
Introduction
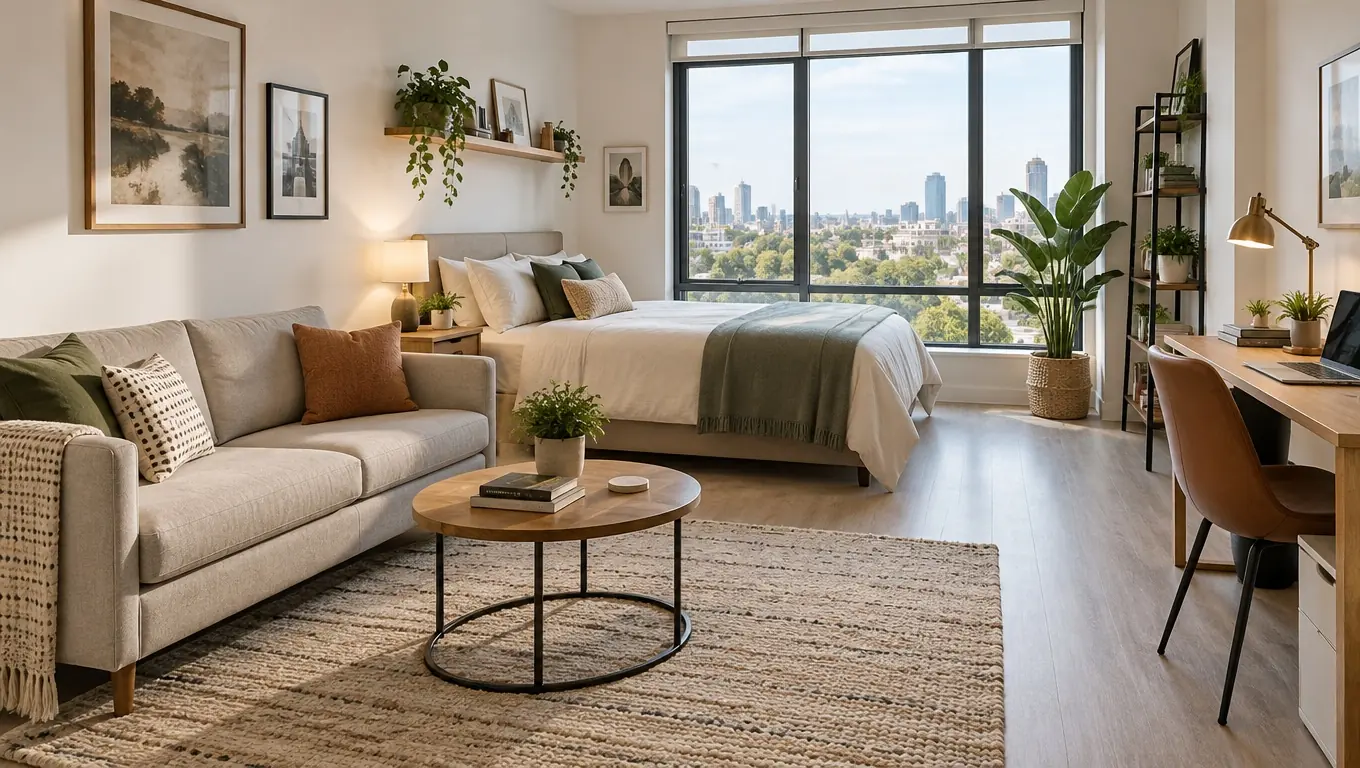
The fastest way to make a studio apartment layout work is to stop treating it as one room and start treating it as three overlapping zones: sleep, work, and living. You create those zones with placement and a few anchor pieces, a rug under the bed, a shelf behind the sofa, a desk facing a window, not with walls. Done well, one room can hold your whole daily routine without feeling like a crowded dorm.
This guide shows you exactly how to zone a studio: where to put the bed, how to separate work from rest, which anchor pieces define each area, and what to adjust for square, long, or L-shaped floor plans. You will also get a clearance checklist and a few layout templates you can copy. Whether you already own your furniture or are still planning the purchase, the goal is the same: a studio that feels intentional, not improvised.
Key Takeaways
- Zone before you shop. Decide where sleep, work, and living live before buying furniture, so every piece has a job and a spot.
- Use soft dividers. Rugs, open shelving, and a sofa back define zones without blocking light or feeling permanent, which is ideal for renters.
- Bed placement sets the whole plan. Corner, divider, or raised bed choices shape where everything else can go.
- Leave real walkways. Keep at least 24–30 inches of clear path so the room still breathes.
- Preview first. Seeing the arrangement on a photo of your actual room beats dragging heavy furniture around to find out it does not fit.
What Is Studio Apartment Zoning?
Zoning is the practice of dividing a single open room into clear functional areas, a sleeping zone, a work zone, a living or lounge zone, and sometimes a dining or entry zone, using furniture and decor instead of walls. It is the core skill behind any good studio apartment layout, because a studio asks one room to do the job of four.
In a traditional apartment, the walls tell you where you are. In a studio, your furniture does that work. A rug says "this is the living room." A bookshelf standing perpendicular to the wall says "the bedroom starts here." A desk turned toward the window says "this corner is for focus." Your brain reads these cues and the room stops feeling like one undifferentiated box.
Good zoning is not about cramming in dividers. It is about giving each activity a visual home so transitions feel deliberate. You want to wake up, cross a soft boundary, and feel like you have "left" the bedroom even though you walked six feet. That psychological separation is what makes small-space living sustainable.
The tools are simple and renter-friendly: area rugs, open shelving units, the back of a sofa, a folding screen, a console table, and lighting. None of these require drilling, painting, or permission. They are all movable, which matters when your lease is temporary and your furniture needs to follow you to the next place.
Why Studio Layout Matters
A studio that is furnished but not zoned feels chaotic, even when it is clean. When the bed, desk, and couch all blur together, your eyes never get a rest and the space reads smaller than it is. Zoning fixes that by giving the room rhythm and giving you boundaries between "on" and "off" hours.
There is a practical angle too. If you work from home, a defined work zone protects your focus and your sleep. Sleep researchers and ergonomics advice from sources like the Sleep Foundation consistently point to keeping the bed associated with rest, not with laptops and email. In a studio you cannot have a separate office, but you can create enough separation that your brain treats the areas differently.
Zoning also saves money. When you plan the layout first, you buy fewer wrong-sized pieces and avoid the classic studio mistake of a sofa that swallows the room or a bed that blocks the only walkway. Most people find that a clear plan cuts returns and impulse buys dramatically. The goal is confident furniture decisions and a room you love without the costly guesswork.
How to Get Started: A Step-by-Step Zoning Plan
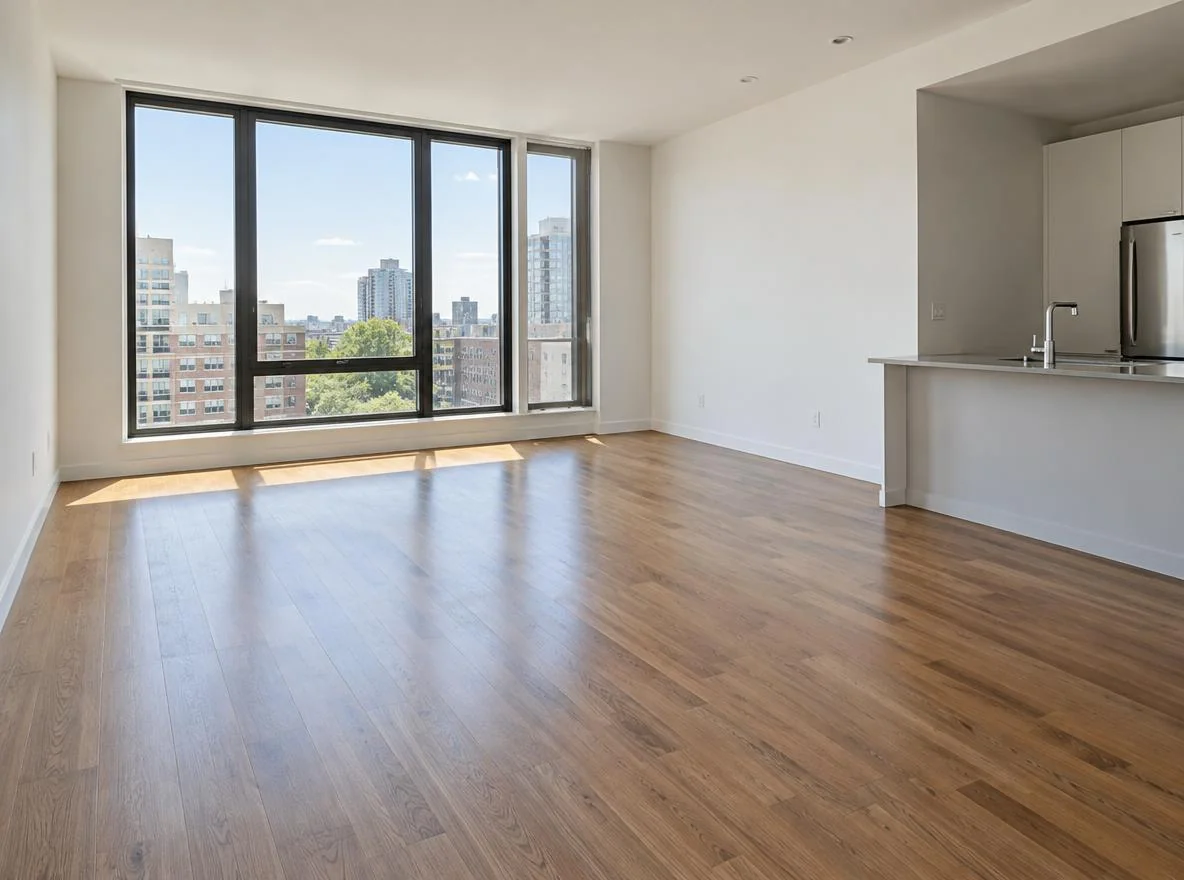
Start with the room itself, not the furniture catalog. Grab a tape measure, note the length and width, and mark where the windows, radiator, closet, and front door sit. These fixed points decide everything that follows.
Step 1 — Place the bed first. The bed is your biggest piece, so it anchors the plan. In most studios it belongs in the quietest corner, away from the front door and ideally near a window for light without being in the main walkway. If you want more detail on orientation and headboard placement, our bedroom furniture layout guide covers bed positioning rules that apply even inside a studio.
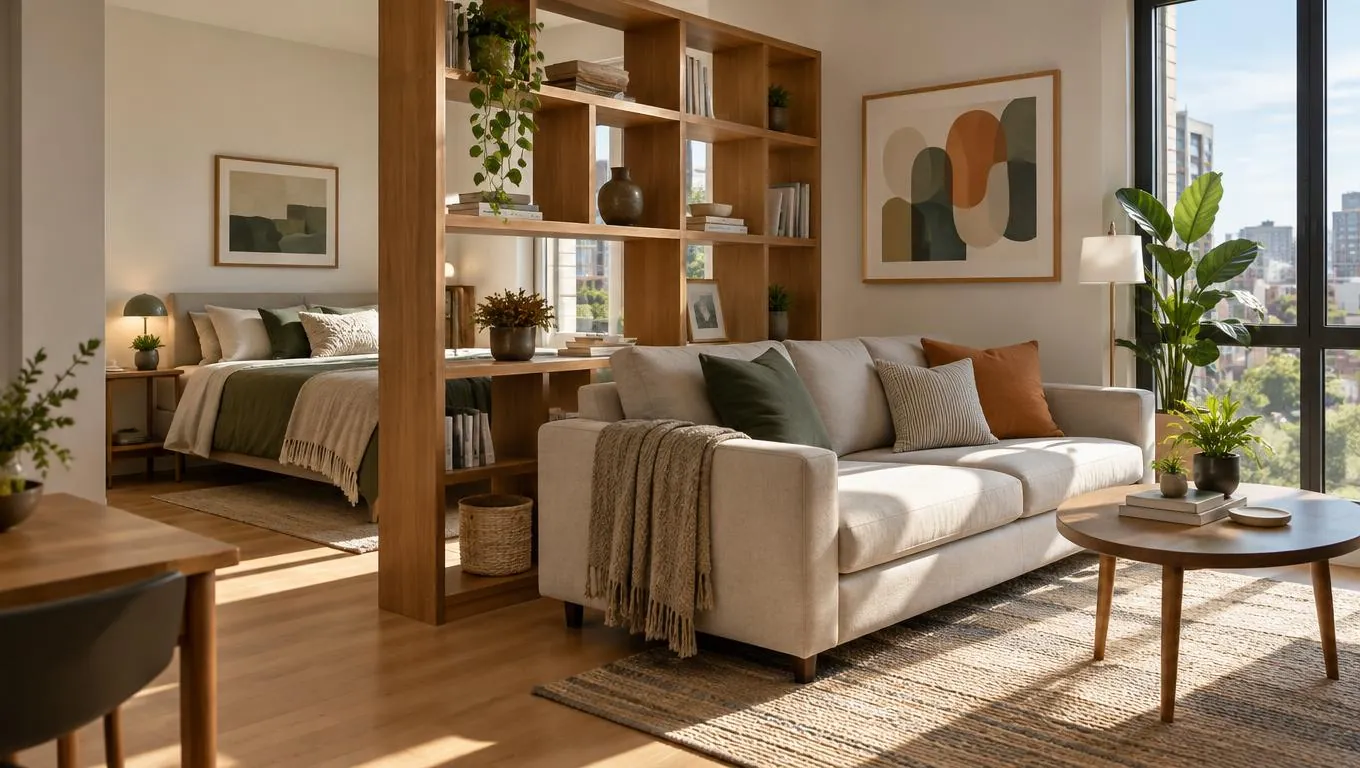
Step 2 — Decide your divider. Choose one thing to separate sleep from the rest of the room: an open bookshelf, the back of the sofa, a low console, or a slim curtain track. Open shelving is the renter favorite because it blocks sightlines to the bed while still letting light pass through.
Step 3 — Build the living zone around a rug. Lay down a rug where you want the lounge area and float the sofa at its edge. The rug draws the boundary. Even a 5x7 rug turns a vague corner into a clear "living room."
Step 4 — Carve out the work zone. Tuck a compact desk against a wall or into the space behind your sofa divider. Facing a window or a blank wall helps focus. Keep it out of the direct sightline from the bed if you can.
Step 5 — Protect the walkways. Trace the path from the door to the bed, the bathroom, and the kitchen. Nothing should block these. Use the clearance table below as your rule of thumb.
Before you move a single heavy item, it helps to sketch the arrangement with an AI room planner on a photo of your actual studio, so you can test bed and divider placement without the back strain. Planning the layout on screen first is far easier than discovering mid-move that the sofa and desk cannot coexist.
| Walkway / Clearance | Minimum | Comfortable |
|---|---|---|
| Main walkway (door to key areas) | 30 in | 36 in |
| Secondary path (around bed) | 24 in | 30 in |
| Space to pull out desk chair | 24 in | 30 in |
| Between sofa and coffee table | 14 in | 18 in |
| Clearance in front of closet/dresser | 30 in | 36 in |
See Your Empty Room Fully Furnished in 30 Seconds
Upload one photo of your empty room and get a realistic furnished preview in the style you choose — before you buy a single piece of furniture.
Free to try • No design skills needed • Works with any room photo
Furnish My Room →Best Practices and Layout Templates by Studio Shape
The right zoning plan depends on your room's shape. Here are templates for the three most common studio footprints, plus the bed-placement choices that make each one work.
Square studio. Push the bed into the back corner and use an open shelf as a divider running out from the wall. The living zone sits in the opposite front corner on a rug, with the desk tucked along a side wall. A square footprint gives you the most flexibility. Treat the room like four quadrants and assign one function to each.
Long, narrow studio. Think in bands. The quiet far end becomes the sleep zone, the middle becomes living, and the end near the door or kitchen handles dining or entry. A sofa placed across the width, with its back facing the bed, creates a natural wall. This is the layout where a divider piece earns its keep most.
L-shaped studio. Use the short leg of the L as a built-in bedroom nook. It is already semi-separated, so just add a rug and a slim shelf at the opening. The main leg holds your living and work zones. This is the easiest shape to zone because the architecture does half the work for you.
Three bed-placement strategies cover almost every studio:
| Bed placement | Best for | Tradeoff |
|---|---|---|
| Corner bed | Square and L-shaped studios | One side against a wall limits symmetry but saves space |
| Divider bed (behind shelf/sofa) | Long, open studios | Needs a sturdy divider piece and clear floor behind it |
| Raised / loft bed | High-ceiling studios | Frees floor for a desk or lounge underneath; harder to make |
A few universal habits help every studio read bigger. Keep furniture low and legs exposed so light flows underneath. Use one or two consistent accent colors across zones so the room feels unified, not patchworked. Choose dual-purpose pieces like a storage ottoman, a bed with drawers, or a drop-leaf table so each item pulls double duty. And lean on lighting: a floor lamp by the sofa and a focused lamp at the desk tell your brain the zones are separate even after dark.
If your studio feels more like a small living room with a bed in it, the ideas in our small living room furniture guide on scaling pieces to fit will translate directly.
Common Mistakes to Avoid
Pushing everything against the walls. It feels space-saving but usually leaves a dead zone in the middle and no real separation. Floating a sofa or shelf a foot or two off the wall is what creates zones.
Buying an oversized sofa. The biggest studio mistake is a sectional that eats the whole living zone. Measure first, and favor a loveseat or a compact three-seater with slim arms.
Skipping the rug. Without rugs to anchor zones, the room reads as one flat space. A rug is the cheapest, most renter-friendly divider you have.
Blocking the window or the door swing. Light and flow are a studio's two best features. Never trade them for one more piece of furniture.
Moving heavy furniture to test ideas. Dragging a bed across the room three times to "see how it feels" is exhausting and often ends in the original spot. Plan the layout on a photo first. If you are furnishing from scratch, our empty apartment furniture planning guide walks through the order to buy things so you do not overspend before the plan is set.
Final Thoughts
A studio apartment layout works best when you zone the room first and shop second. By placing the bed as your anchor, choosing one soft divider, and defining the living and work zones with rugs and shelving, you can turn a single open room into a space that handles sleep, focus, and downtime without feeling cramped. The clearance numbers and shape-based templates above give you a plan you can copy straight away.
The smartest move before you lift anything heavy is to preview it. Take one clear daylight photo of your empty studio, try a furnished layout on screen, and test bed and divider placement until the studio apartment layout feels right, then let the CTA below handle the next step.
See Your Empty Room Fully Furnished in 30 Seconds
Upload one photo of your empty studio and get a realistic furnished preview in the style you choose — before you buy a single piece of furniture.
Free to try • No design skills needed • Works with any room photo
Furnish My Room →Frequently Asked Questions
How do you divide a studio apartment into zones without walls?
Use movable, renter-friendly dividers: area rugs to anchor the living and sleep zones, an open bookshelf placed perpendicular to the wall, the back of a sofa, or a slim folding screen. These block sightlines and signal separate areas while keeping light and air flowing through the room.
Where should the bed go in a studio apartment?
Place the bed in the quietest corner, away from the front door and ideally near a window for light. In long studios, position it at the far end behind a divider. The bed is your largest piece, so decide its spot first and build the living and work zones around it.
What furniture is essential for a studio apartment layout?
Prioritize a bed, a compact sofa or loveseat, a small desk, one anchor rug, and an open shelving unit that doubles as a divider. Favor dual-purpose pieces like a storage ottoman or a bed with drawers so each item earns its footprint in the room.
How do I separate a work zone from my sleeping area in a studio?
Put the desk against a wall or behind your sofa divider, facing a window or blank wall, and keep it out of the bed's direct sightline. A separate task lamp and a rug under the desk reinforce that this corner is for focus, helping your brain treat work and rest as distinct.
Can I preview a studio layout before moving my furniture?
Yes. Take a clear daylight photo of your empty studio and use a room planner to test furniture placement on screen. Previewing the arrangement first lets you try corner beds, divider beds, and rug positions without dragging heavy pieces around to find out what fits.
